Unlock Your Gaming Potential: How to Start a Dedicated Server on Palworld
Palworld is an exciting game blending exploration, crafting, building, and raising creatures known as Pals. To fully enjoy multiplayer, setting up a dedicated server is essential. This guide walks you through the setup process for an immersive, lag-free experience.
What is a Dedicated Server?
A dedicated server is a computer hosting a game independently, allowing multiple players to connect remotely without affecting your own device's performance. Unlike personal hosting, it ensures stability, better resource management, and a smooth multiplayer experience.
Why Choose a Dedicated Server for Palworld?
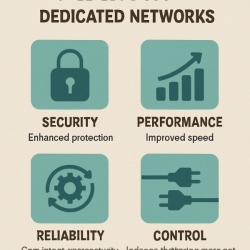
- Enhanced Performance: Independent operation frees your device resources and reduces lag.
- 24/7 Availability: Players can join anytime, maintaining an active world.
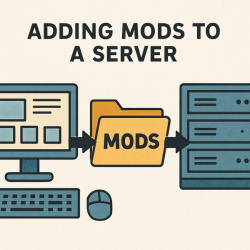
- Control & Customization: Customize gameplay, manage access, and install mods.
- Scalability: Upgrade server capacity as your community grows.
Setting Up a Dedicated Server for Palworld
Step 1: System Requirements
- OS: Windows 10/11 or compatible Linux
- Processor: Multi-core (Intel i5 or AMD equivalent)
- Memory: 8GB RAM minimum
- Storage: 20GB+ SSD
- Network: Stable internet connection
Step 2: Download the Server Software
- Go to the Palworld official website.
- Download the latest server version for your OS.
- Save in a dedicated folder on your server machine.
Step 3: Install the Server
- Run the installation file and follow instructions.
- Choose a dedicated folder for server files.
- Ensure all components are installed correctly.
Step 4: Configure the Server
- Edit the configuration file in the installation directory.
- Set server name, password, max players, and gameplay settings.
- Save changes before exiting.
Step 5: Port Forwarding
- Access your router settings (e.g., 192.168.1.1).
- Add a rule for TCP/UDP ports 27015-27016.
- Apply changes and test the connection.
Step 6: Launch the Server
- Navigate to your server directory.
- Run the server executable.
- Monitor for errors and ensure smooth launch.
Step 7: Connect & Manage Your Server
- Launch Palworld and go to Multiplayer.
- Enter your server IP and port.
- Use server console for admin commands and player management.
Tips for Managing Your Palworld Server
- Regular Backups: Prevent data loss with frequent backups.
- Community Rules: Maintain a friendly, cooperative environment.
- Updates & Maintenance: Keep server software and mods current.
- Engage with Players: Collect feedback to improve server experience.
Conclusion
Setting up a dedicated server for Palworld provides stability, control, and a superior gaming experience. Gather friends, unleash your creativity, and enjoy the world of Pals together!